Getting Started with CoppeliaSim
CoppeliaSim (formerly V-REP) is the 3D robotics simulator we will use throughout this Sprint to design, control, and test robots before running them on real hardware. It lets you build virtual scenes, attach sensors and actuators, and write scripts that drive the robot — all from a single integrated environment.
In this section you will learn what CoppeliaSim is, how it’s structured, and how to run your first scene. Later tasks will build on these basics.
Watch the Introduction
Before diving in, it helps to watch a couple of short explainer videos. Browse the playlists below and pick whichever ones match your background:
You can also browse the official user manual for an in-depth reference.
Section 1: What is CoppeliaSim?
CoppeliaSim is a physics-based simulator built around a scene graph of objects (robots, sensors, obstacles, the floor) where each object can be controlled by an embedded script or an external program.
Key strengths:
- Multiple physics engines (Bullet, ODE, Vortex, Newton) — pick the one that fits your robot.
- Embedded Lua scripts attached directly to objects for fast prototyping.
- Remote APIs (Python, C++, MATLAB, ROS) so you can drive the simulator from external code — what we’ll use most.
- Comes with a large library of pre-built robots and sensors.
Section 2: Installing CoppeliaSim
Detailed install steps for your OS are covered in:
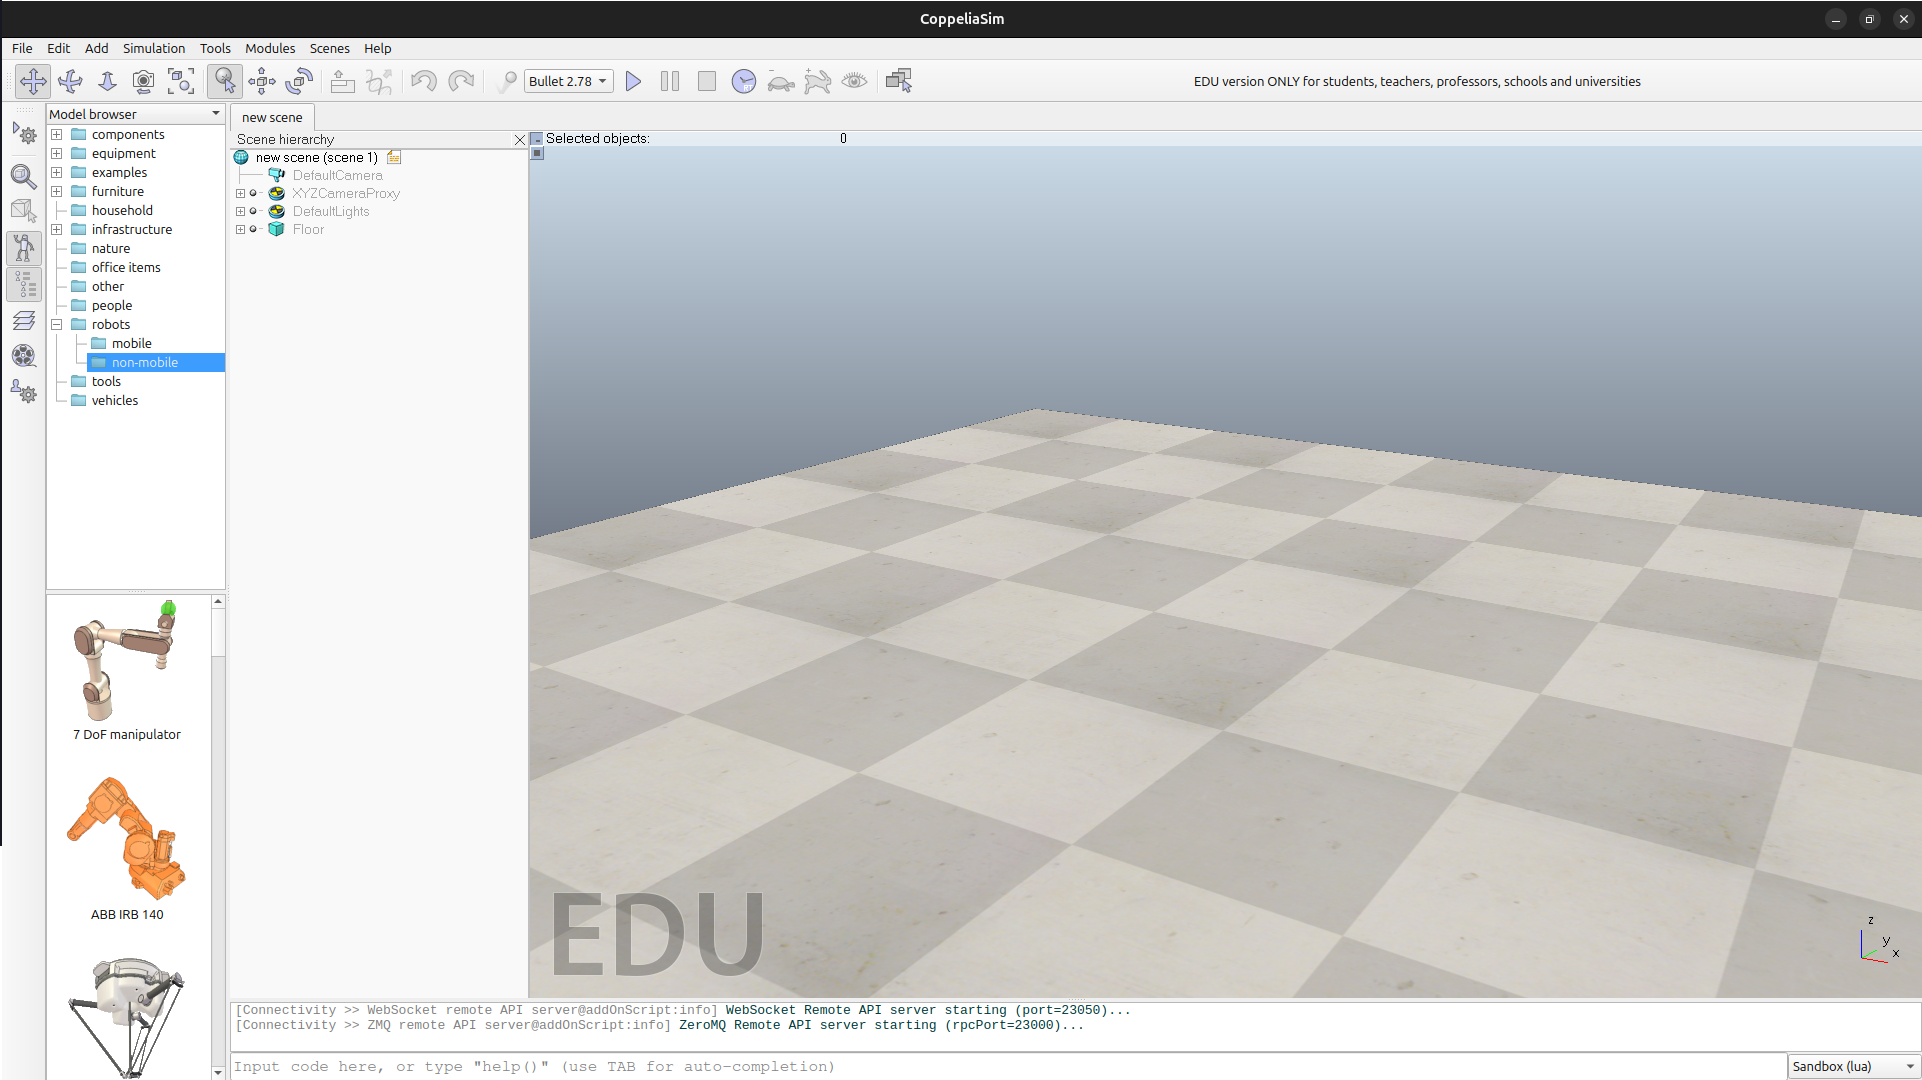
After install, launch CoppeliaSim once and accept the EDU licence prompt. You should see the default empty scene with a floor grid.
Tip : Use the EDU (Educational) edition — it’s free and includes every feature you need for this Sprint.
Section 3: Anatomy of the Interface
When CoppeliaSim opens, you’ll see five main areas:
| Area | Purpose |
|---|---|
| Scene hierarchy (left) | Tree view of every object in the current scene |
| Scene view (centre) | The 3D viewport you interact with |
| Toolbar (top) | Play / pause / stop simulation, change physics engine |
| Model browser (left-bottom) | Drag-and-drop library of robots, sensors, primitives |
| Status / console (bottom) | Log messages, script errors, print output |
The four buttons that matter most:
- ▶ Start simulation — begins time-stepping the physics
- ⏸ Pause simulation
- ⏹ Stop simulation — resets the scene to its initial state
- 🔧 Toggle script editor — opens the embedded Lua editor for the selected object
Additional References
- CoppeliaSim official manual
- CoppeliaSim download page
- CoppeliaSim forum — great place to search for solutions