Task 0
Software Installation in Windows
This document contains instructions to install following software on Windows:
- CopelliaSim
- Visual Studio Code (optional but highly recommended)
- Python
- C++ Compiler
1. CoppeliaSim_Edu_V4_10_0_rev0
- In this section, we will install CoppeliaSim Robotics Simulator Platform.
- The robot simulator CoppeliaSim is based on a distributed control architecture: each object/model can be individually controlled via an embedded script, a plugin, a ROS or BlueZero node, a remote API client, or a custom solution. This makes CoppeliaSim very versatile and ideal for multi-robot applications. Controllers can be written in C/C++, Python, Java, Lua, Matlab or Octave.
A. Installation Steps CoppeliaSim
-
Download CoppeliaSim_Edu_V4_10_0_rev0 for Windows 64-bit OS from here(238 MB)
-
Navigate to the downloaded
.exefile and double-click it to install the software. -
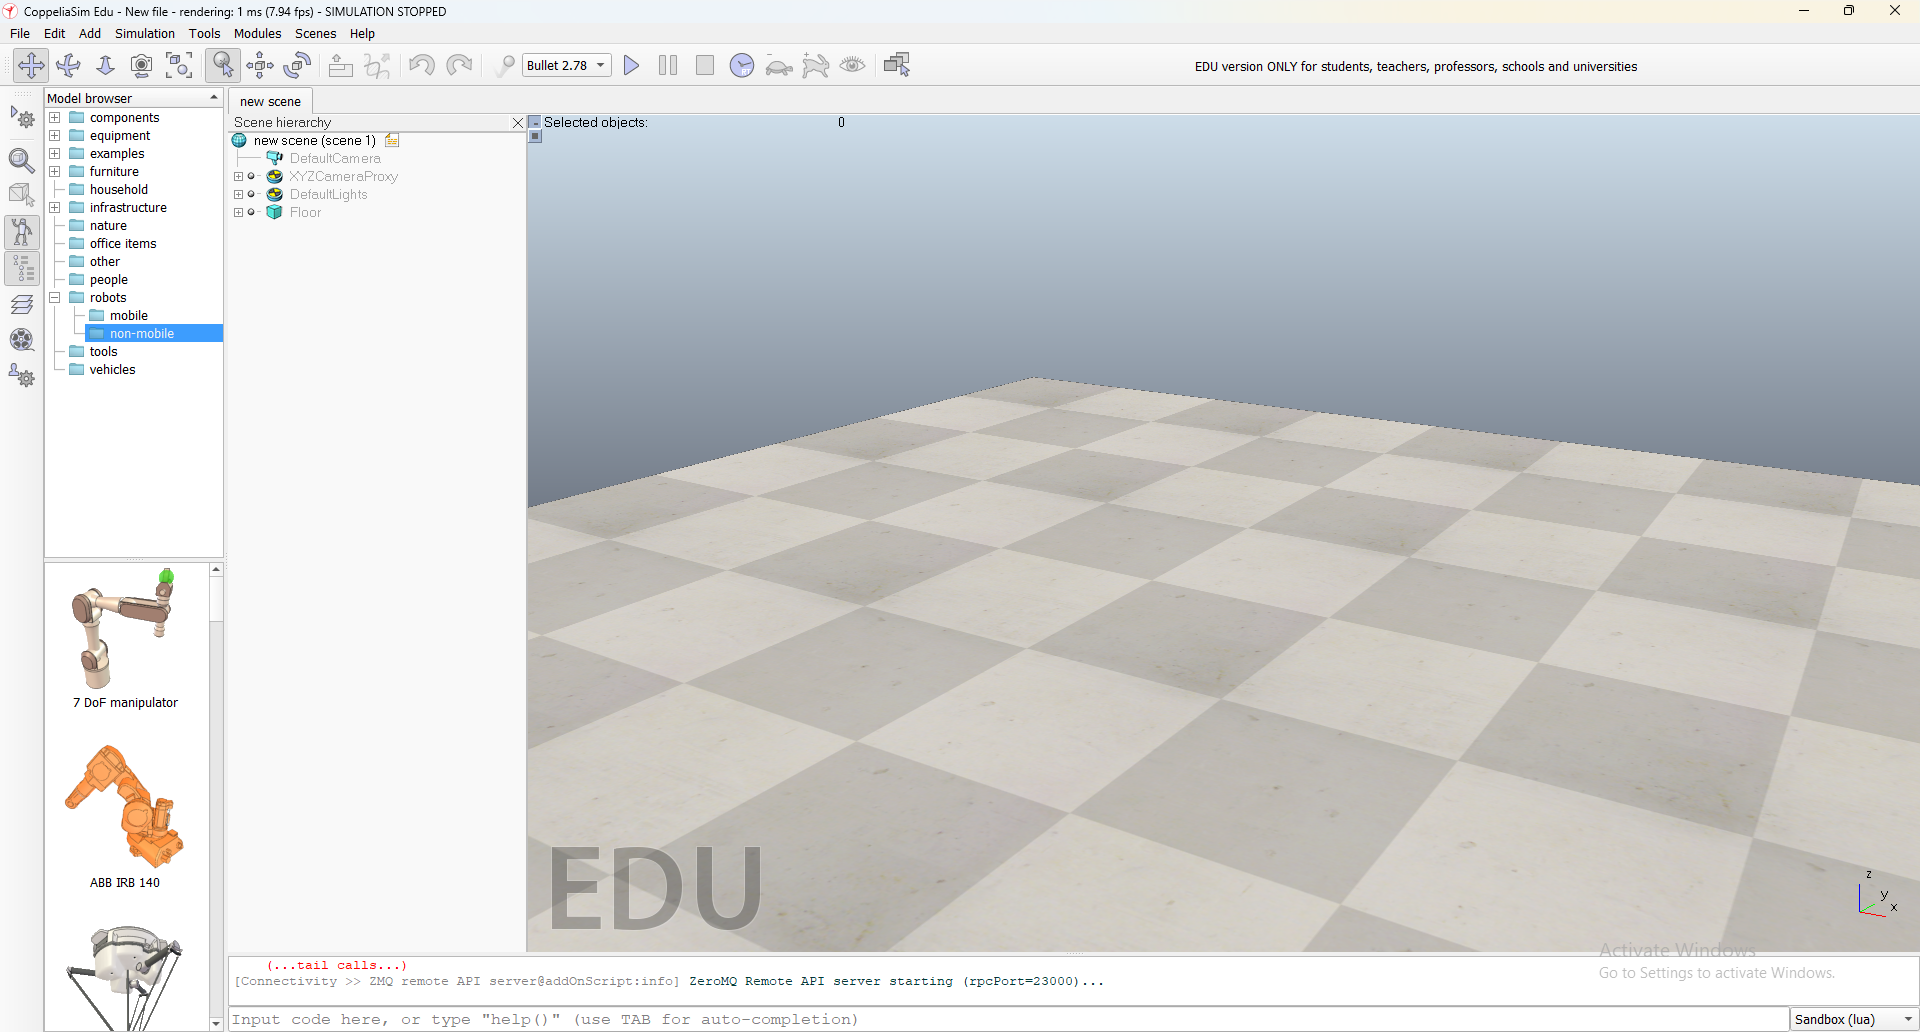
Once the installation is complete, a shortcut icon to launch the software would have been created on your Desktop. Double-click to launch it. CoppeliaSim will open as shown in Figure-1 with the default scene loaded.
2. Visual Studio Code (optional but highly recommended)
- The below steps will increase your programming efficiency.
- Programmers spend a lot of time looking at documentation, re-factoring code, debugging issues, unit testing and styling code.
- What if you get a helping hand at this so that your code looks beautiful and you could debug issues faster? Read further to know more. Don't worry!
- Since using tooling may be a new thing to most of you it may look difficult but none of this is difficult. It's actually rather very very easy and you will become a better programmer the earlier you master these tools.
- Download a Text Editor. We recommend Visual Studio Code.
- Set up VS Code for C++ and Python: Install the Python and C/C++ extension in VS Code.This will setup all the tools necessary for easy editing, running and testing Upcoming Taks.
3. Python
- Python is a high-level, interpreted programming language known for its simplicity and readability.
- It's widely used in robotics, automation, data analysis, machine learning, and web development.
- Python's extensive library ecosystem makes it ideal for rapid prototyping and integration with hardware systems.
- For robotics applications, Python provides libraries like NumPy, OpenCV, Matplotlib, and PySerial for sensor data processing, computer vision, plotting, and serial communication.
We will be using Python 3.10 in this theme. You don't have to install Python separately — it comes by default with the Miniconda installation we use below.
Conda is a package management system, created specifically to assist working with Python packages in a cross-platform fashion. Conda also has the concept of a virtual environment, which is an independent, self-contained install of Python and packages.
There are two options for getting Conda: Anaconda and Miniconda. We use Miniconda because it is lightweight.
NOTE : If you already have Anaconda or Miniconda pre-installed on your system, kindly skip section A and proceed to section B. Verification Steps Miniconda.
A. Installation Steps Miniconda
-
Download the Miniconda for Python 3.10 Windows 64-bit installer from here. (If the link above is unavailable, grab the latest Miniconda installer from the Miniconda download page — we will pin Python 3.10 explicitly when creating the env.)
-
Navigate to the downloaded
.exefile and double-click it. You will see the Miniconda Windows Installer welcome screen. -
Click on I Agree to accept the terms of the agreement.
-
It is best and recommended to install Miniconda for the local user, which does not require administrator permissions and is the most robust type of installation. Leave the default Just Me selected and click Next.
-
Leave the destination folder to install Miniconda untouched. Note: If the directory path contains any spaces, it will throw a Warning saying that the directory name should not contain spaces — that's okay, click OK.
-
On the Advanced Installation Options screen, you have two important choices:
- First: You can optionally add Miniconda to your PATH environment variable. We recommend NOT adding it, since this can interfere with other software.
- Second: You can register Miniconda as your default Python 3.10 so it is detected by other IDEs and tools. We recommend leaving this checked, unless you plan on installing multiple versions of Anaconda/Miniconda.
-
Click on Install. The installation will take some time. Click Next when it completes. Skip the optional install of Microsoft Visual Studio Code (we install it manually — see Section 2).
-
Un-check the two "Getting Started"/"Tutorial" boxes on the final screen and click Finish.
Cheers! Miniconda for Python 3.10 is successfully installed. Let's verify it now.
B. Verification Steps Miniconda
-
Search for Anaconda Prompt (miniconda3) in the Start menu. Open it.
-
Type the following command in the prompt:
conda infoYou should see info about your Miniconda installation (paths, version, channels).
-
Miniconda creates a default Python environment named
baseat the installation directory. List existing environments:conda env list(
conda info --envsorconda info -ework too.) The asterisk*next to a name indicates the currently active environment — it should bebaseright now. -
When any environment is active, its name appears in
(env_name)before the prompt. Activate the defaultbaseenvironment and inspect it:conda activate base where python pythonThis will:
- Activate
base— the prompt now starts with(base). - Print the path of the Python that Miniconda installed.
- Open the Python interpreter, where you can see the version (should be 3.10.x).
- Activate
-
Type
exit()to leave the Python console, then deactivate the environment:conda deactivateThe
(base)prefix will disappear.
C. Setting up a Virtual Environment using Miniconda
We will now create the Sprint-specific virtual environment with Python 3.10 and install the libraries we need.
-
Open Anaconda Prompt from the Start menu.
-
Create a new environment named
elsi_sprintwith Python 3.10:conda create -n elsi_sprint python=3.10 -yThis creates an isolated environment so this Sprint's packages don't conflict with anything else on your machine.
-
Activate the environment:
conda activate elsi_sprintYour prompt should now start with
(elsi_sprint). -
Install the libraries used in this Sprint:
pip install numpy matplotlib pyserial opencv-python pyzmq coppeliasim-zmqremoteapi-client -
Verify the environment:
where python
python --version
You should see a Python path inside the
elsi_sprintenv and:Python 3.10.x -
(Optional) Quick import check that key libraries are available:
python -c "import numpy, matplotlib, cv2, serial, zmq; print('all good')"
Tip : Always
conda activate elsi_sprintbefore working on any Sprint task — running Python from outside the env will use the wrong interpreter and missing packages.To deactivate later:
conda deactivate. To remove the env and start over:conda env remove -n elsi_sprint.
D. Using the elsi_sprint env in VS Code
Because we did not add Miniconda to the system PATH (Section A, step 6), the conda command won't work directly in VS Code's default PowerShell / Command Prompt terminal. The cleanest fix is to let VS Code's Python extension activate the env for you — every time you open a Python file or the integrated terminal.
-
Open VS Code and install the Python extension (from Microsoft) if you haven't already.
-
Open the folder where your Sprint code lives:
File → Open Folder... -
Press Ctrl + Shift + P to open the Command Palette.
-
Type and select
Python: Select Interpreter. -
From the list, pick the interpreter labeled
Python 3.10.x ('elsi_sprint': conda).- If it isn't listed, click
Enter interpreter path → Find...
and browse to:
C:\Users\<your-user>\miniconda3\envs\elsi_sprint\python.exe
Path Might Be Different For you
- If it isn't listed, click
-
Open a new terminal:
Terminal → New Terminal. The Python extension should automatically activate the env — you'll see(elsi_sprint)at the start of the prompt. -
From now on, running scripts with the ▶ button or
python your_script.pyin the terminal uses the right env.
NOTE :
- If the terminal prompt does not show
(elsi_sprint), open VS Code settings (Ctrl + ,), search forpython.terminal.activateEnvironment, and make sure it is checked. - For Windows if Mini Conda Env is not Working try to use this Command :
Set-ExecutionPolicy -ExecutionPolicy RemoteSigned -Scope CurrentUser